
Sometimes a body gets crushed, smashed, scuffed, ripped and bent... do you paint a new one, or do repairs? Here's a few tips if you go the elbow grease route.

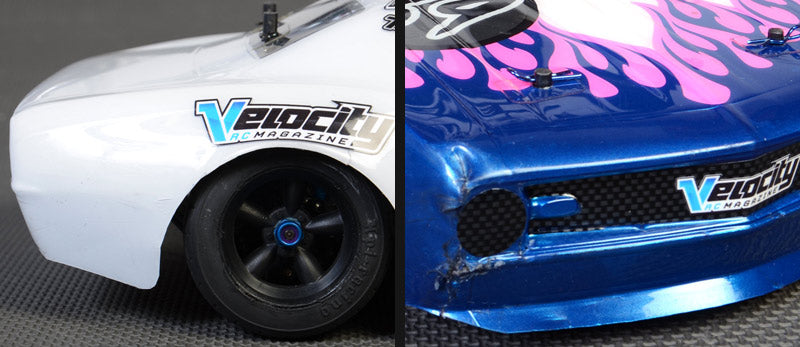
CLEAN IT - Use a bristle brush or compressed air to remove all the loose gunk. Brake Cleaner or rubbing alcohol and a rag does wonders on unsightly scuffs from that punk that hacked you!
CRACKS AND RIPS - Common structural damage is an easy fix with drywall tape and Shoe Goo. Use masking tape on major rips for stability while glue sets. Apply fiber tape to cleaned surface then spread Show Goo over entire area, allowing to fully cure. (fresh Shoe Goo will flow well into damaged areas.) Try to use as little glue as possible while still getting full coverage. Flex is good.
COVERUP - The most difficult part of repairing a body is covering up your dirty work. Stickers are your friend here. A few strategic sticky graphics can hide the gnarliest of repairs.
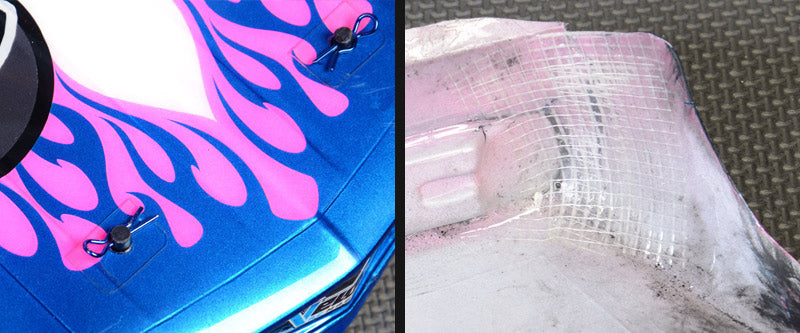
ADDED SECURITY - Now that you know exactly where the weak areas are, you can add some beef. Fiber tape and Shoe Goo is the answer again! There are also body washers, foam pads, and other sticky body supports. Add strength as necessary but don't get too crazy with the cheese wiz. Too much added weight is bad in most cases.
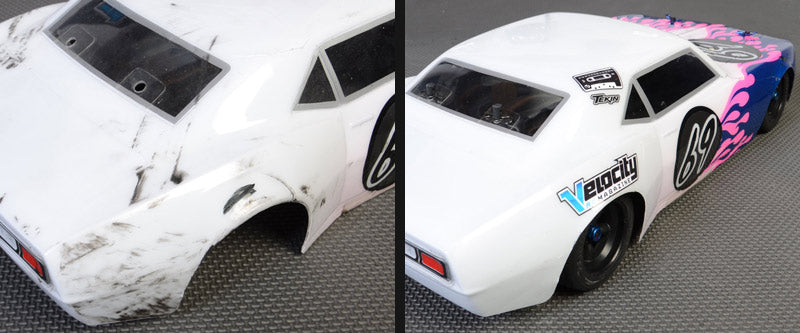
Fix early and clean often. Shiny, for now... we'll crash again soon.
Repair an RC Car Body
Sometimes a body gets crushed, smashed, scuffed, ripped and bent... do you paint a new one, or do repairs? Here's a few tips if you go the elbow grease route.
CLEAN IT - Use a bristle brush or compressed air to remove all the loose gunk. Brake Cleaner or rubbing alcohol and a rag does wonders on unsightly scuffs from that punk that hacked you!
CRACKS AND RIPS - Common structural damage is an easy fix with drywall tape and Shoe Goo. Use masking tape on major rips for stability while glue sets. Apply fiber tape to cleaned surface then spread Show Goo over entire area, allowing to fully cure. (fresh Shoe Goo will flow well into damaged areas.) Try to use as little glue as possible while still getting full coverage. Flex is good.
COVERUP - The most difficult part of repairing a body is covering up your dirty work. Stickers are your friend here. A few strategic sticky graphics can hide the gnarliest of repairs.
ADDED SECURITY - Now that you know exactly where the weak areas are, you can add some beef. Fiber tape and Shoe Goo is the answer again! There are also body washers, foam pads, and other sticky body supports. Add strength as necessary but don't get too crazy with the cheese wiz. Too much added weight is bad in most cases.
Fix early and clean often. Shiny, for now... we'll crash again soon.